
My Water Cooling Adventure
First I have to give a big thanks to the good folks at xtremesystems.org (Liquid Cooling forum). Without their excellent community this would have been a very painful journey!
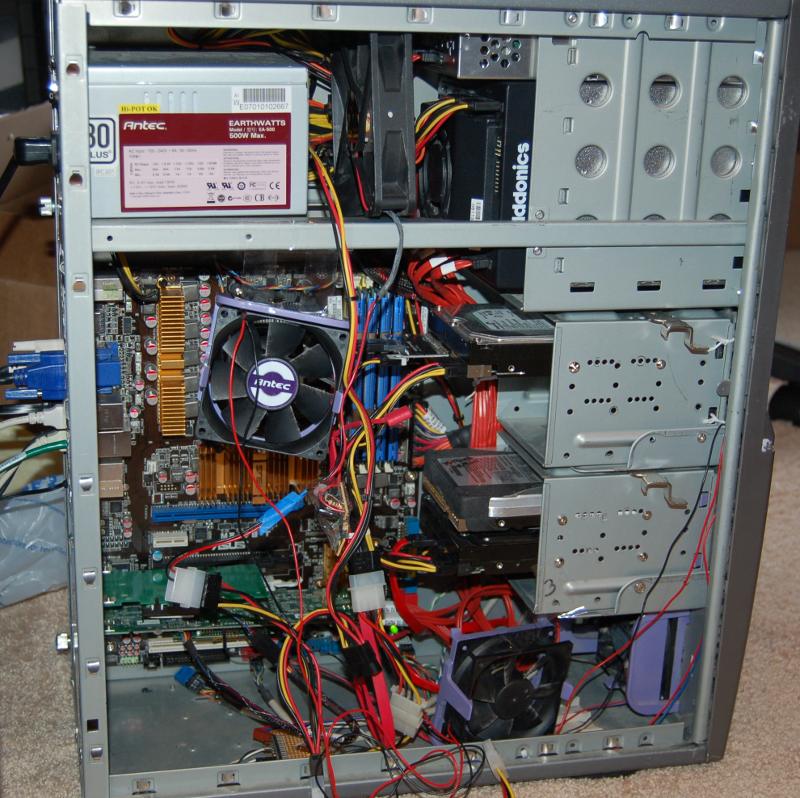
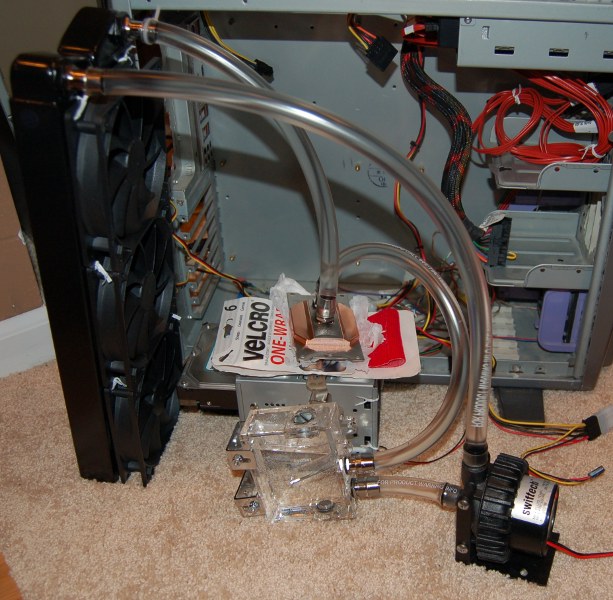
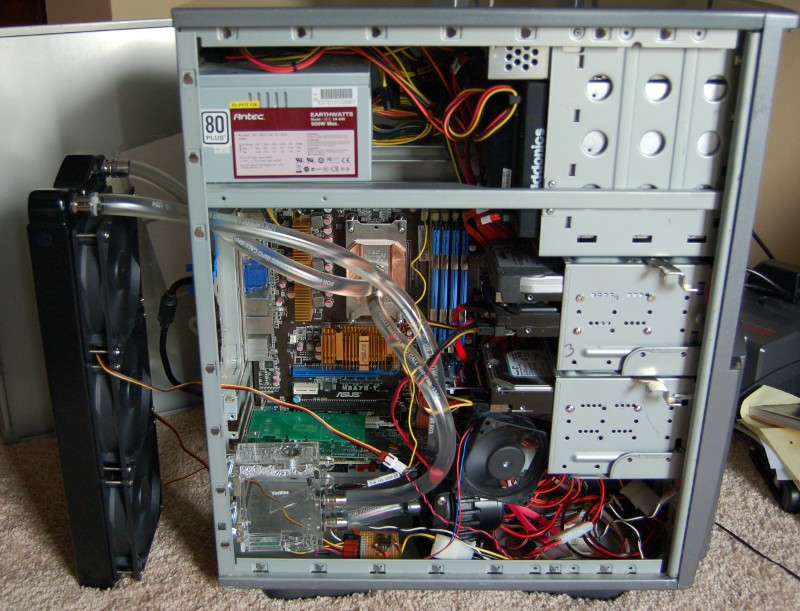
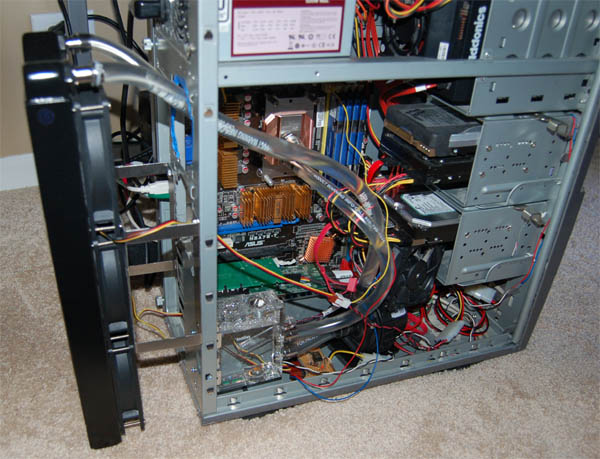
Here is my computer "before". All of the additional fans were hanging around because my temperatures were way too high. (See temps section at bottom of page) Rather than replace the cpu cooler or thermal paste I decided to jump into water cooling. I've always wanted to do it, and here was a great reason. Here is the chronicle of that process.
Shopping List & Reviews
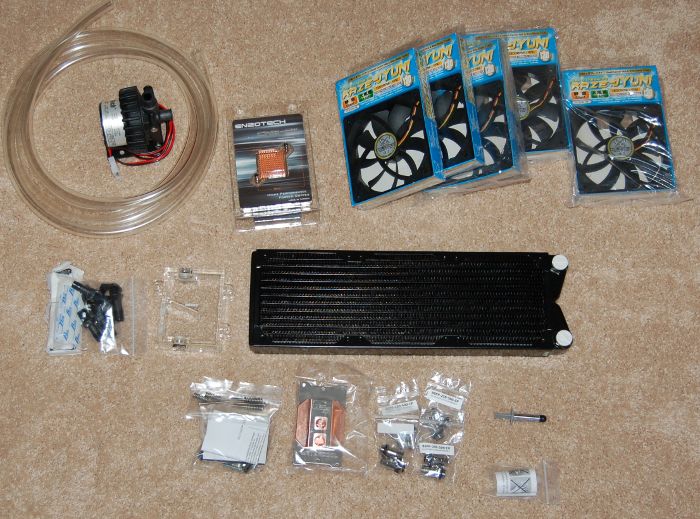
The hardest part for me was selecting the parts. My goal was to get the best bang for the buck, but I had no idea where to start.
I specifically picked out all the parts for performance and features after reading a lot of helpful reviews on xtremesystems. This made my choices very easy.
Tubing Review - 18 Types of Tubing ReviewedConclusion: Most tubing is about the same. Some bend easier than others. Some are colored some are clear. They will all fog up eventually. Usually the cheap tubing works just as well as the good stuff, so you might as well save your money for a good CPU block.
Triple Radiator Performance Comparison - Swiftech MCR320, ThermoChill PA120.3, XSPC RX360
Conclusion: The swiftech radiator performs slightly lower than the others, but is about half the cost. This made it an obvious choice for me.
Waterblocks on i7 - Part 5
Conclusion: The Watercool Heatkiller 3.0 cpu block is the best.
Full Parts List
Swiftech MCP655 12v DC Pump - with Speed Controller $75.95
Swiftech MCR320-QP Quiet Power 3X120mm - Black $49.95
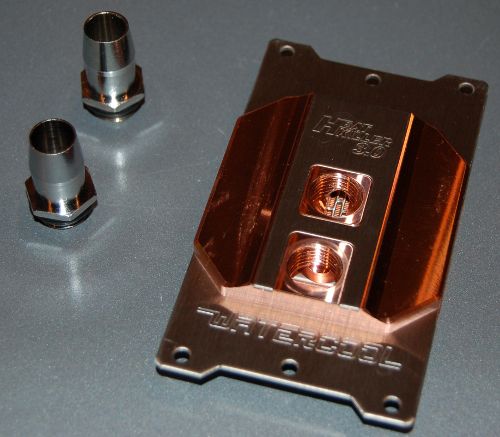
Swiftech High Flow Fittings 1/4in BSPP thread to 1/2in ID Barb $2.25 x 8 = $18.00
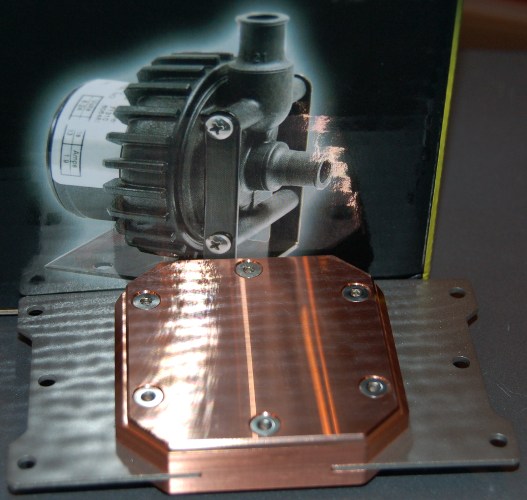
Watercool Heatkiller 3.0 754/939/AM2 cpu block $84.95
Swiftech MCRES Micro Revision 2 reservoir $22.95
Durelene PVC tubing 7/16in. ID 5/8in. OD by Saint-Gobain $0.45 x 10 = $4.50
(This tubing is much cheaper than the Tygon and is probably about the same "performance"... whatever that means for tubing)
Scythe 120x25mm SlipStream SY1225SL12M - 68 CFM $8.95 x 2 = $17.90
Petra'sTech PT_Nuke -PHN Concentrated Biocide (10mL) $2.50
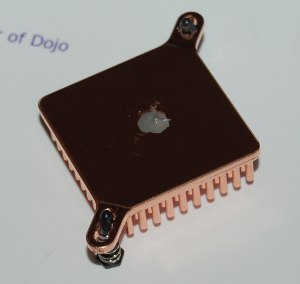
Enzotech CNB-S1L Low Profile Forged Copper Chipset cooler $14.95 (passive air cooler)
I bought this pump because you can vary the speed with a dial on the back.

Planning
First I preped my case by moving all the cables and cages out of the way. I also removed all of the PCI cards.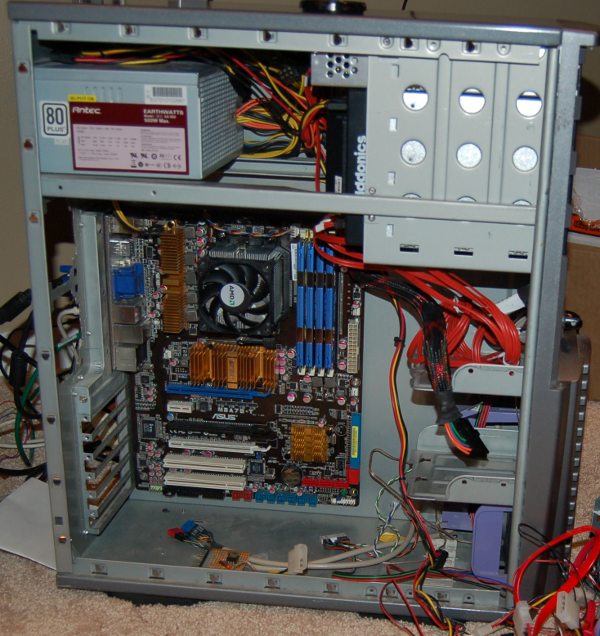
Next, a test fit was done to see how everything could fit into the case. I chose to put the pump on the bottom of the chassis, with the reservoir mounted to the back. This allowed a short length of tubing to connect the reservoir to the pump. The shortest possible tubing lengths allow the most water to flow through the system.
Due to the reservoir mounting location, PCI clearance had to be taken into account. I was careful to make sure enough room was left between the reservoir and pci brackets so I could remove and insert pci cards.
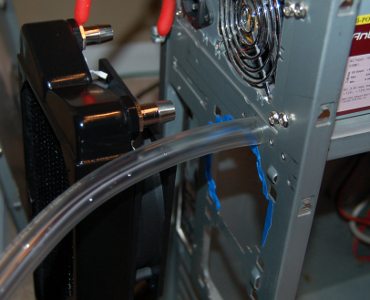
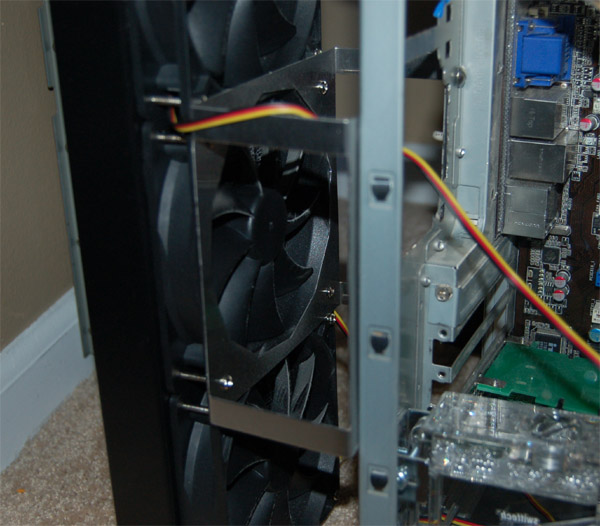
I decided to mount the radiator on the back of the case. There was just enough space below the power supply for the tubes coming off the radiaor to pass through.
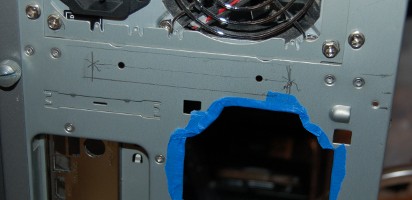
I measured the distance between the barbs I installed onto the radiator and marked off where holes need to be cut for the radiator tubes.
Now I was able to cut all of the proper lengths of tubing.

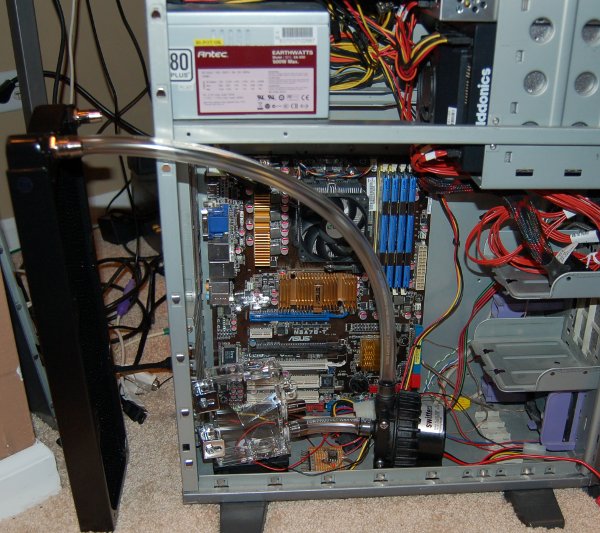
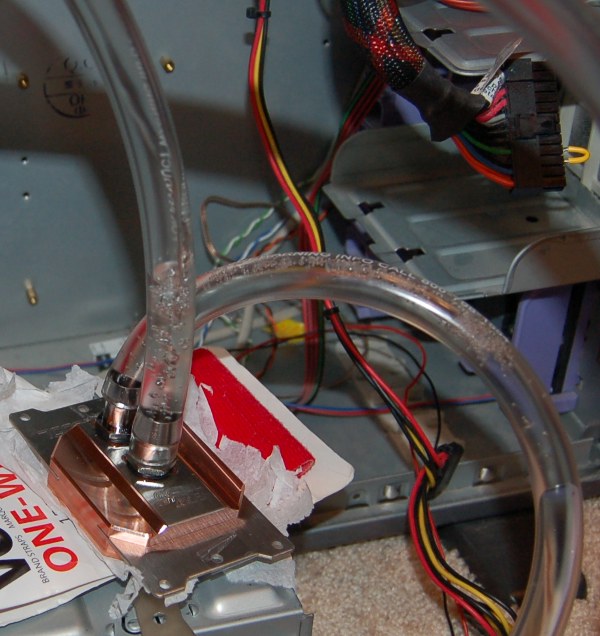
Here you can see the various connections I made between the components. Since I used 7/16" ID 5/8" OD tubing, I was able to put the tubing over the 1/2" barbs without the need for any additional retention. This tubing was very snug over the pump's barbs.
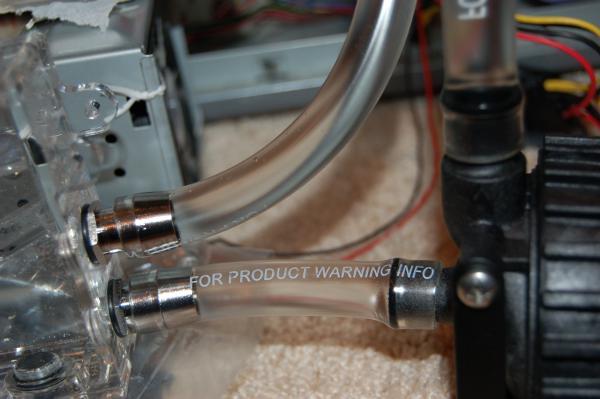
The connection on the left in this picture is not on all the way so I can remove the tube without having to cut it. After all, this is just the test loop.
On the radiator I put the tubing so it was just on the cusp of the barb. You can see in the background I did this same technique and used a zip tie to secure it. This is the only zip tie used to secure any of the tubing. I did this so I could easily get the tubing off when I need to drain the radiator. Once the 7/16" tubing is over the 1/2" barb, it is extremely difficult to get off. I resorted to cuttingit off with a razor.

Here is the complete loop!
The First Fill & Leak Testing
I filled the reservoir with distilled water.
To run the pump I disconnected all the cables from all of the computers devices. Then I created a small loop of wire.
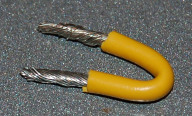
If you connect a small loop of wire between a power supply's green and black wires you can run the power supply without a computer. You can use the switch on the back of the power supply to turn the pump on and off with these two pins shorted.
(You can see the wires to short in this picture marked with red lines)

When the reservoir is filled, the pump is turned on until all of the water is drained from the reservoir. Then you continue to fill the reservoir and run the pump until water cycles through the entire loop.
Next I mounted the fans on the radiator. On the fans there are arrows that indicate the flow of air. I put the fans facing away from the back of the computer, blowing air into the radiator.
I connected the fans to a home made fan controller.

Now the loop is fully filled. Check for any leaks and run the pump for a few hours to make sure everything is running OK.
Final Mounting
Now that everything looks good, I begin to mount the components in the chassis. The reservoir, pump, and radiator need to be mounted to the case. I drilled 2 holes for the reservoir in the back of the case.

I also drilled 2 holes in the bottom of the case for the pump

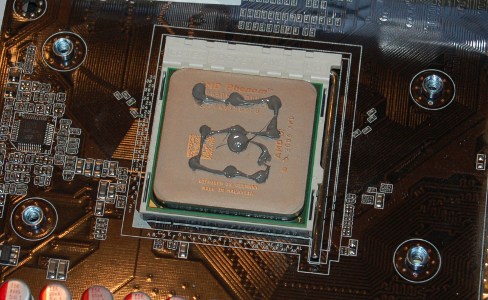
Here I've removed the stock AMD CPU cooler.
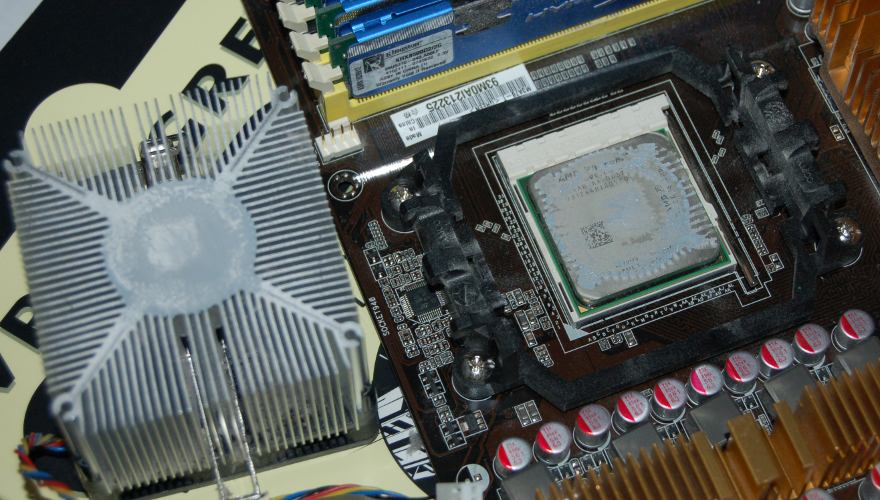
I've cleaned up the thermal paste using alcohol and distilled water to remove the alcohol residue. Notice the black bracket around the CPU. This is only for the stock CPU cooler. I will remove this for the cpu water block.

All AMD socket AM2/AM2+ motherboards come with a backplate. This is used to prevent the motherboard from breaking under the stress of the cpu cooler. This plate is also what the cpu waterblock screws into.
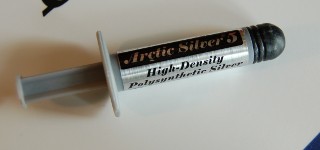
I used some fresh Artic Silver 5 thermal compound. This contains a high percentage of silver to better conduct the heat from the cpu to the cooler.
Now I'll apply the thermal paste to the CPU. Ideally, a little as possible should be used. In this image, I put on too much and actually had to remove some. After you apply the paste, you want to screw in the cooler so you can see how the paste will distribute itself against the cpu.
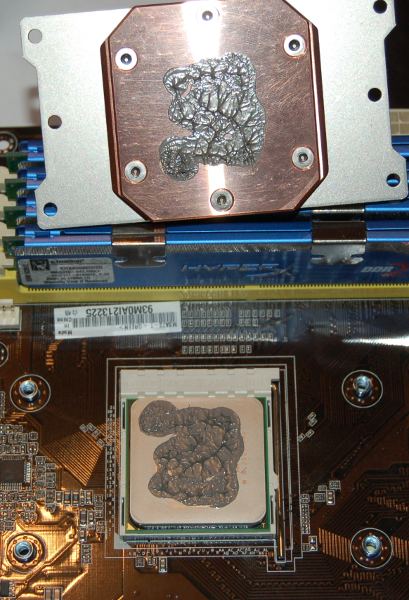
You can see that there is too much on here because it is bulging out the sides. I removed all the excess before the final cpu block installatin.

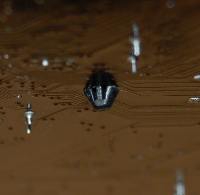
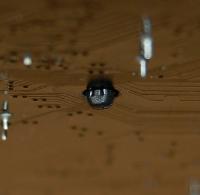
I was a bit dissapointed to see that the $14.99 southbridge cooler had a more smooth mirror finish than that $80 hunk of copper known as the Heat Killer 3 cpu block.

This block is totally smooth sans a tiny knick from when I was drilling the holes
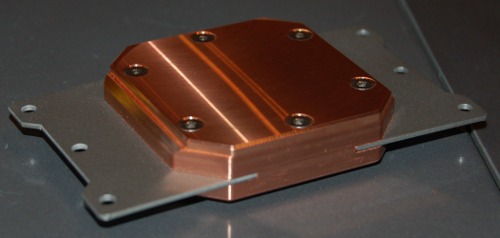
Here you can see there is a clearly milled finish. This is still a very smooth finish, it just doesn't have a mirror shine that I would expect to see on such an expensive hunk of copper.

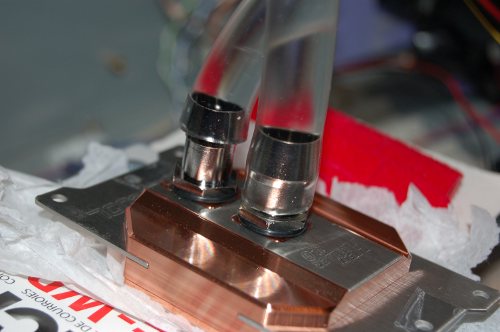
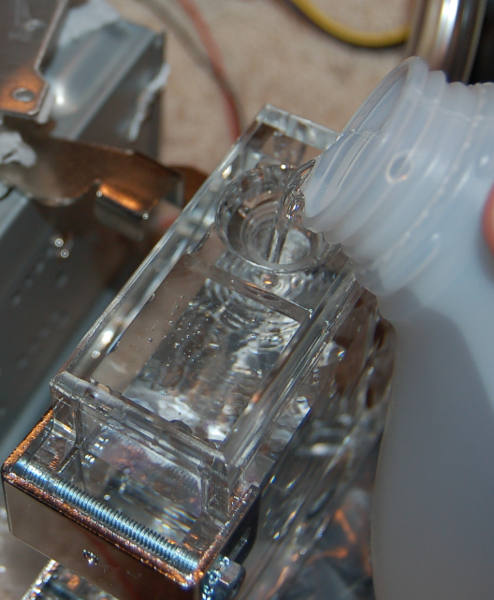
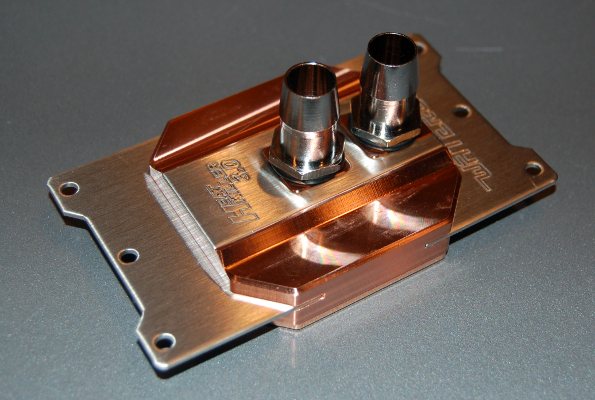
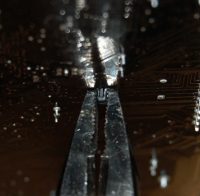
Here you can see the 1/2" barbs I installed. Also if you look ino the inlet port of the cpu block (the higher port) you can see a distribution plate used to more evenly distribute the water. If the block is shook, you can hear this plate rattling around in there.
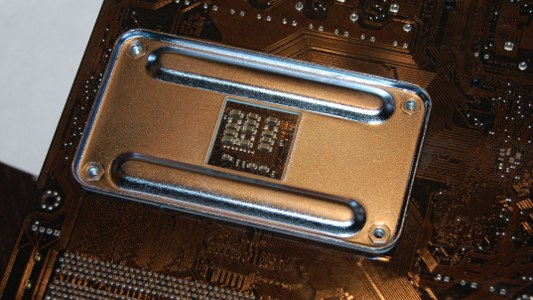
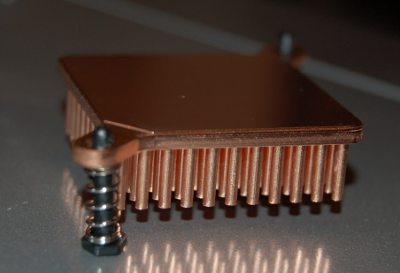
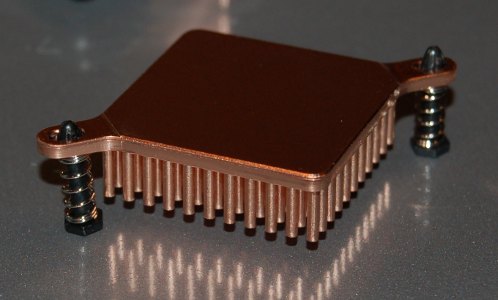
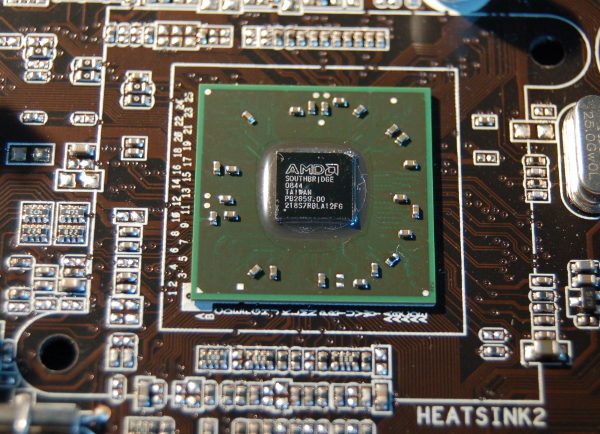
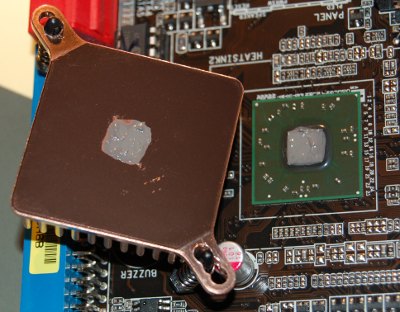
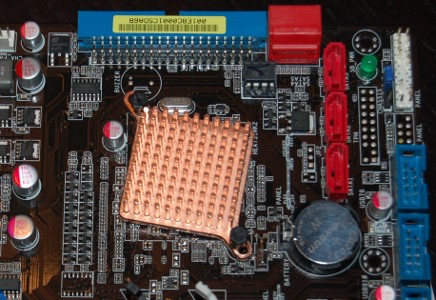
I also changed the cooler on the motherboard's southbridge because I noticed it got very hot. I'm replacing the stock aluminum with a solid copper heatsink. This will better pull the heat away from the chip.

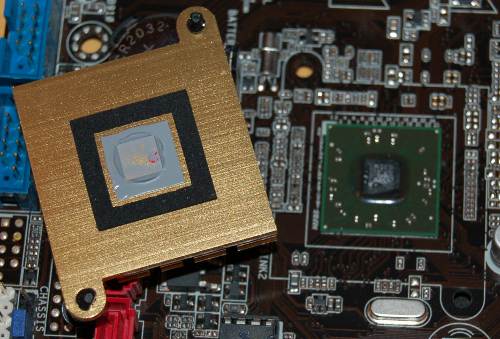
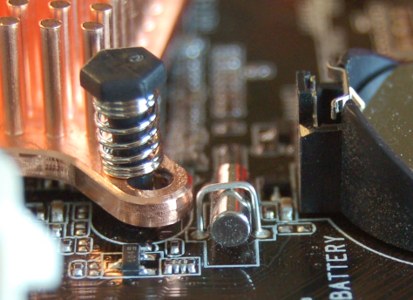
In the specs I for this copper cooler I noticed that the pin spacing was smaller than the pins holding my current southbridge cooler onto the board. Here you can see I had to drill an additional hole on the left side to fit the holes in the motherboard properly.

I bent a wire holding a crystal onto the motherboard so it wouldn't make contact with the new cpu cooler.
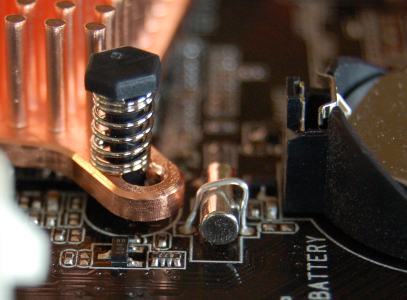
You can see it ended up being mounted kind of cock-eyed. Oh well.
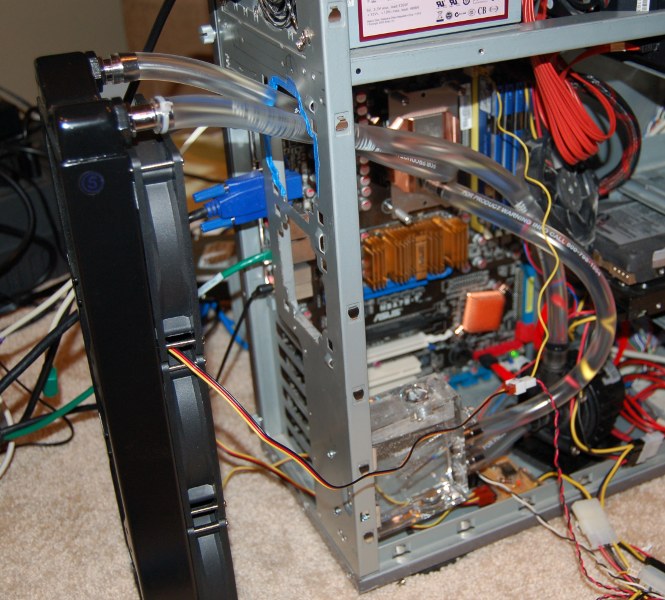
Up and Running!
Here is the final loop all setup. Notice the yellow wire coming off of the radiator fan. I connected this to the motherboard's CPU fan header. Withtou this connected, the BIOS complains that there is no CPU fan attached when I boot the PC. I can also monitor the radiator fan speed this way.
The only thing that I didn't do was drill the holes and mount the radiator to the back of the case. I will be creating a custom bracket to mount the radiator to the case.
After a rough sketch and some dimensioning I had enough to design a bracket. A model was created in a CAD app, and the bracket was created on a CNC punch.

Results
Here is the temperature before on the stock AMD air cooler. The rise in temperature is from watching a video. Notice the CPU usage is not very high at all. The maximum CPU Core temp here is around 67 C. AMD rates this cpu to 62 C. Not good!
Now after having the watercooling setup running. I am running prime95 with 4 threads to have maximum temperature. Here the CPU Core temp doesn't go over 26 C!!
Revision History:
2009-7-9 Initial Publication
2009-7-16 Added many additional images, and descriptions
2009-7-19 Added links to parts reviews, cleanup
2009-8-2 Added mounting bracket
<- Back to 2XOD.com
All Rights Reserved
Comments? Questions?
